









Shop
Shop
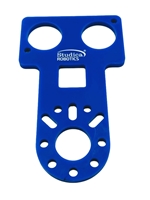
Ultrasonic Distance Sensor Bracket
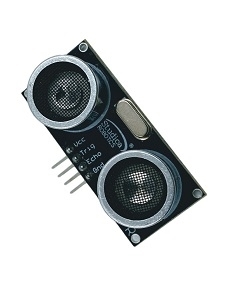
The Ultrasonic Distance Sensor Bracket is used to secure the Ultrasonic Distance Sensor to the Studica channel.
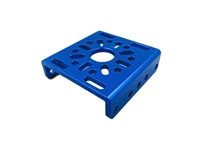
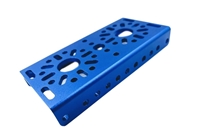
48mm Low Profile U Channel
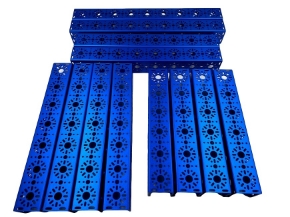
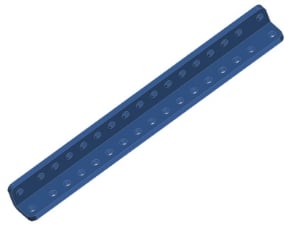
The Studica Low Profile U Channel is 3mm thick and has a 48mm x 14mm profile. As with the other Studica Robotics building components, it has the common hole pattern which makes it easy to connect to other structure with very little or no additional machining required. You can easily connect to other channel, extrusions, bushings, bearing, mounting brackets and more so you can quickly assemble and disassemble robots and automated systems.
Specifications:
- Material: 6061-T6 Aluminum
- Thickness - 3mm
- Height - 14mm
- Width - 48mm
- Length - 48mm
- Hole pattern - 1
- Step File
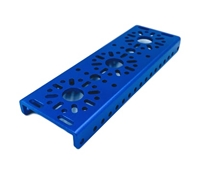
96mm Low Profile U Channel
The Studica Low Profile U Channel is 3mm thick and has a 48mm x 14mm profile. As with the other Studica Robotics building components, it has the common hole pattern which makes it easy to connect to other structure with very little or no additional machining required. You can easily connect to other channel, extrusions, bushings, bearing, mounting brackets and more so you can quickly assemble and disassemble robots and automated systems.
Specifications:
- Material: 6061-T6 Aluminum
- Thickness - 3mm
- Height - 14mm
- Width - 48mm
- Length - 96mm
- Hole pattern - 2
- Step File
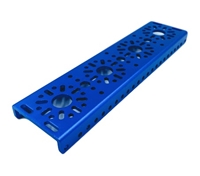
144mm Low Profile U Channel
The Studica Low Profile U Channel is 3mm thick and has a 48mm x 14mm profile. As with the other Studica Robotics building components, it has the common hole pattern which makes it easy to connect to other structure with very little or no additional machining required. You can easily connect to other channel, extrusions, bushings, bearing, mounting brackets and more so you can quickly assemble and disassemble robots and automated systems.
Specifications:
- Material: 6061-T6 Aluminum
- Thickness - 3mm
- Height - 14mm
- Width - 48mm
- Length - 144mm
- Hole pattern - 3
- Step File
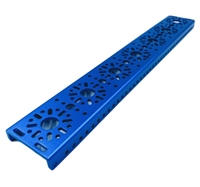
192mm Low Profile U Channel
The Studica Low Profile U Channel is 3mm thick and has a 48mm x 14mm profile. As with the other Studica Robotics building components, it has the common hole pattern which makes it easy to connect to other structure with very little or no additional machining required. You can easily connect to other channel, extrusions, bushings, bearing, mounting brackets and more so you can quickly assemble and disassemble robots and automated systems.
Specifications:
- Material: 6061-T6 Aluminum
- Thickness - 3mm
- Height - 14mm
- Width - 48mm
- Length - 192mm
- Hole pattern - 4
- Step File
336mm Low Profile U Channel
The Studica Low Profile U Channel is 3mm thick and has a 48mm x 14mm profile. As with the other Studica Robotics building components, it has the common hole pattern which makes it easy to connect to other structure with very little or no additional machining required. You can easily connect to other channel, extrusions, bushings, bearing, mounting brackets and more so you can quickly assemble and disassemble robots and automated systems.
Specifications:
- Material: 6061-T6 Aluminum
- Thickness - 3mm
- Height - 14mm
- Width - 48mm
- Length - 336mm
- Hole pattern - 7
- Step File
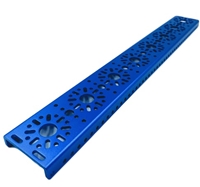
384mm Low Profile U Channel
The Studica Low Profile U Channel is 3mm thick and has a 48mm x 14mm profile. As with the other Studica Robotics building components, it has the common hole pattern which makes it easy to connect to other structure with very little or no additional machining required. You can easily connect to other channel, extrusions, bushings, bearing, mounting brackets and more so you can quickly assemble and disassemble robots and automated systems.
Specifications:
- Material: 6061-T6 Aluminum
- Thickness - 3mm
- Height - 14mm
- Width - 48mm
- Length - 384mm
- Hole pattern - 8
- Step File
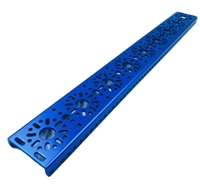
432mm Low Profile U Channel
The Studica Low Profile U Channel is 3mm thick and has a 48mm x 14mm profile. As with the other Studica Robotics building components, it has the common hole pattern which makes it easy to connect to other structure with very little or no additional machining required. You can easily connect to other channel, extrusions, bushings, bearing, mounting brackets and more so you can quickly assemble and disassemble robots and automated systems.
Specifications:
- Material: 6061-T6 Aluminum
- Thickness - 3mm
- Height - 14mm
- Width - 48mm
- Length - 432mm
- Hole pattern - 9
- Deburred, polished and annodized
- Step File
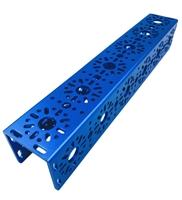
288mm U Channel (2 pack)
The Studica U Channel is 3mm thick and has a 48mm x 48mm profile. As with the other Studica Robotics building components, it has the common hole pattern which makes it easy to connect to other structure with very little or no additional machining required. You can easily connect to other channel, extrusions, bushings, bearing, mounting brackets and more so you can quickly assemble and disassemble robots and automated systems.
Specifications:
- Material: 6061-T6 Aluminum
- Thickness - 3mm
- Height - 48mm
- Width - 48mm
- Length - 288mm
- Weight - 244gms each
- Hole pattern - 6
- Step File
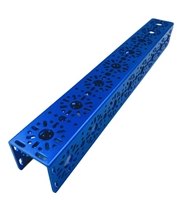
384mm U Channel
The Studica U Channel is 3mm thick and has a 48mm x 48mm profile. As with the other Studica Robotics building components, it has the common hole pattern which makes it easy to connect to other structure with very little or no additional machining required. You can easily connect to other channel, extrusions, bushings, bearing, mounting brackets and more so you can quickly assemble and disassemble robots and automated systems.
Specifications:
- Material: 6061-T6 Aluminum
- Thickness - 3mm
- Height - 48mm
- Width - 48mm
- Length - 384mm
- Weight - 330gms
- Hole pattern- 8
- Deburred, polished, and anodized
- Step File
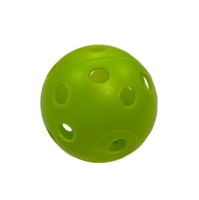
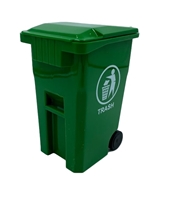
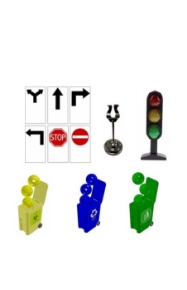
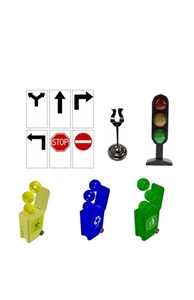
Trash Waste Bin (Green)
This is used and recommended in the Waste Management Robotics Competition.
Specifications,
- Maximum Dimmensions - 125mm x 88mm x 71mm
- Color - Green
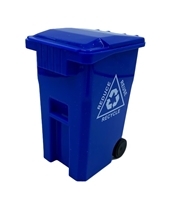
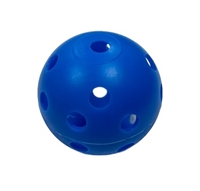
Recycle Waste Bin (Blue)
This is used and recommended in the Waste Management Robotics Competition.
Specifications,
- Maximum Dimmensions - 125mm x 88mm x 71mm
- Color - Blue